Brooke Cribbs | Cribbs Style
Courtesy of Homes.com/Blog

Move over, DIY firepits: We’re building a backyard bar! Perfect for entertaining or even storage, this DIY project works for indoor and outdoor spaces, and with the weather starting to warm up, that means more outdoor time is definitely on the agenda. And while we’re not sure what these next few months may look like for entertaining, it’s still nice to have some fun outdoor amenities.
If you’ve thought about sprucing up your outdoor entertaining area, what better way than by making your own backyard bar? Whatever your beverages of choice, this easy DIY project will give you plenty of options for your outside, or even inside, lifestyle. Take a look!
The $600 Inspiration
I found the inspiration for this piece floating around the internet, and it got me thinking how it would be a perfect addition for our own home. But, the $600 price tag was way too much for my budget; I was confident I could make it for a fraction of the cost. I wanted to keep it simple, so I’ve kept the steps relatively short, using straight cuts. Be sure to follow all the guidelines and safety precautions when using power tools. And be sure to protect your eyes, ears, mouth and nose around power tools, saw dust and paints or stains.
The Supply List
• Solid wood board, 1-inch x 16-inch x 3-feet (I’m using a teak project panel I found at Lowe’s, but any wood will do)
• (2) 2-inch x 4-inch x 8-foot studs
• (8) 1-inch x 4-inch x 8-foot boards
• 1.75-inch wood screws (my favorite are Power Pro #8 exterior screws)
• 1.5-inch finish screws
• 4 wheels (these are optional, but adding them can give you an outdoor and indoor bar)
• 100-grit and 220-grit sand paper
• Exterior paint or stain
 Start building
To make the legs, I started out by cutting four 2x4s into 38.5-inch pieces.
NOTE: To make painting or staining easier, I would recommend doing it after you’ve made all of your cuts. It also makes it easier to use a paint sprayer for all the difficult nooks and crannies that might pop up. If you wait until it’s all assembled, it may be difficult to get paint or stain in all the areas evenly.
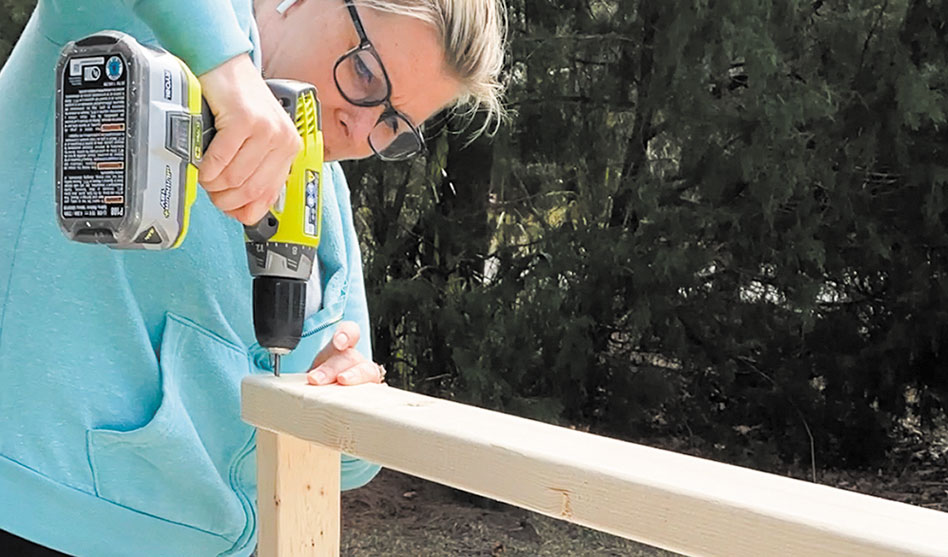
I then cut six 2x4s into 9-inch pieces for supports for the legs. Using the wood screws, I secured these pieces at the top and bottom of the two 2×4 pieces to create two rectangles.
For the width of the bar, I cut the 1×4 boards into nine 35-inch pieces. I spaced the boards using a piece of the 1×4 board. The edges of these boards should line up the edge of your rectangle pieces you made for the legs.
I worked one row at a time to secure the side pieces as well, using the same spacing method as the front. The side pieces fit inside the front piece to give a wrapped look.
If you want to add a middle shelf inside the bar for storage, measure down from the top, about 14 inches, and secure the remaining two 9-inch pieces to be the support of the shelf. This is a personal preference, but a shelf can also add additional support to your bar.
At the bottom of the bar, and in the middle where I attached the support piece, I used two 30-inch pieces of 1×4 for the middle shelf and two 32.75-inch boards for the bottom shelf.
Once everything was assembled, I sanded the entire piece, first using 100-grit sandpaper then finishing with 220-grit sandpaper.
After I spray painted the bar, I attached the wheels. If you’d like to include wheels, be sure to space them out evenly on the bottom as the front of the bar may be a bit heavier and will need proper weight distribution among the wheels.
Next, I attached the piece of teak board on top, making sure it lined up evenly with the back of the bar and that there was an overhang on the front. I also made sure the overhang on the sides was even too. I attached the top using four finish exterior wood screws.
I would recommend a couple coats of an exterior waterproof sealer on your wood bar. If you decide to stain, make sure that it’s protected as well.
For the final touch, I added a bottle opener, and voila!
I love how this bar turned out, and the best part is that it cost less than $200 to build. My favorite feature is the wheels, which allow me to use it inside my home if the weather is less than ideal.
I also love that it’s so customizable; you can add other accessories, like a towel bar or a wire rack to hold wine glasses. The possibilities are endless.
Maybe drinks aren’t your thing; if that’s the case, this doesn’t have to be a backyard bar. You can use it however you see fit. For example, it could be a great plant stand that you could move inside during the colder months, or handy storage for bug spray and sunscreen to keep close by during warmer months spent outside.
It truly is the perfect addition to any backyard.
Brooke Cribbs has a lifestyle blog called Cribbs Style (CribbsStyle.com), and she currently lives in Charleston, S.C. A wife, mom of two human children and three fur children, she enjoys all things DIY and organizing, and she loves helping others tackle the chaos of life.


